Grid
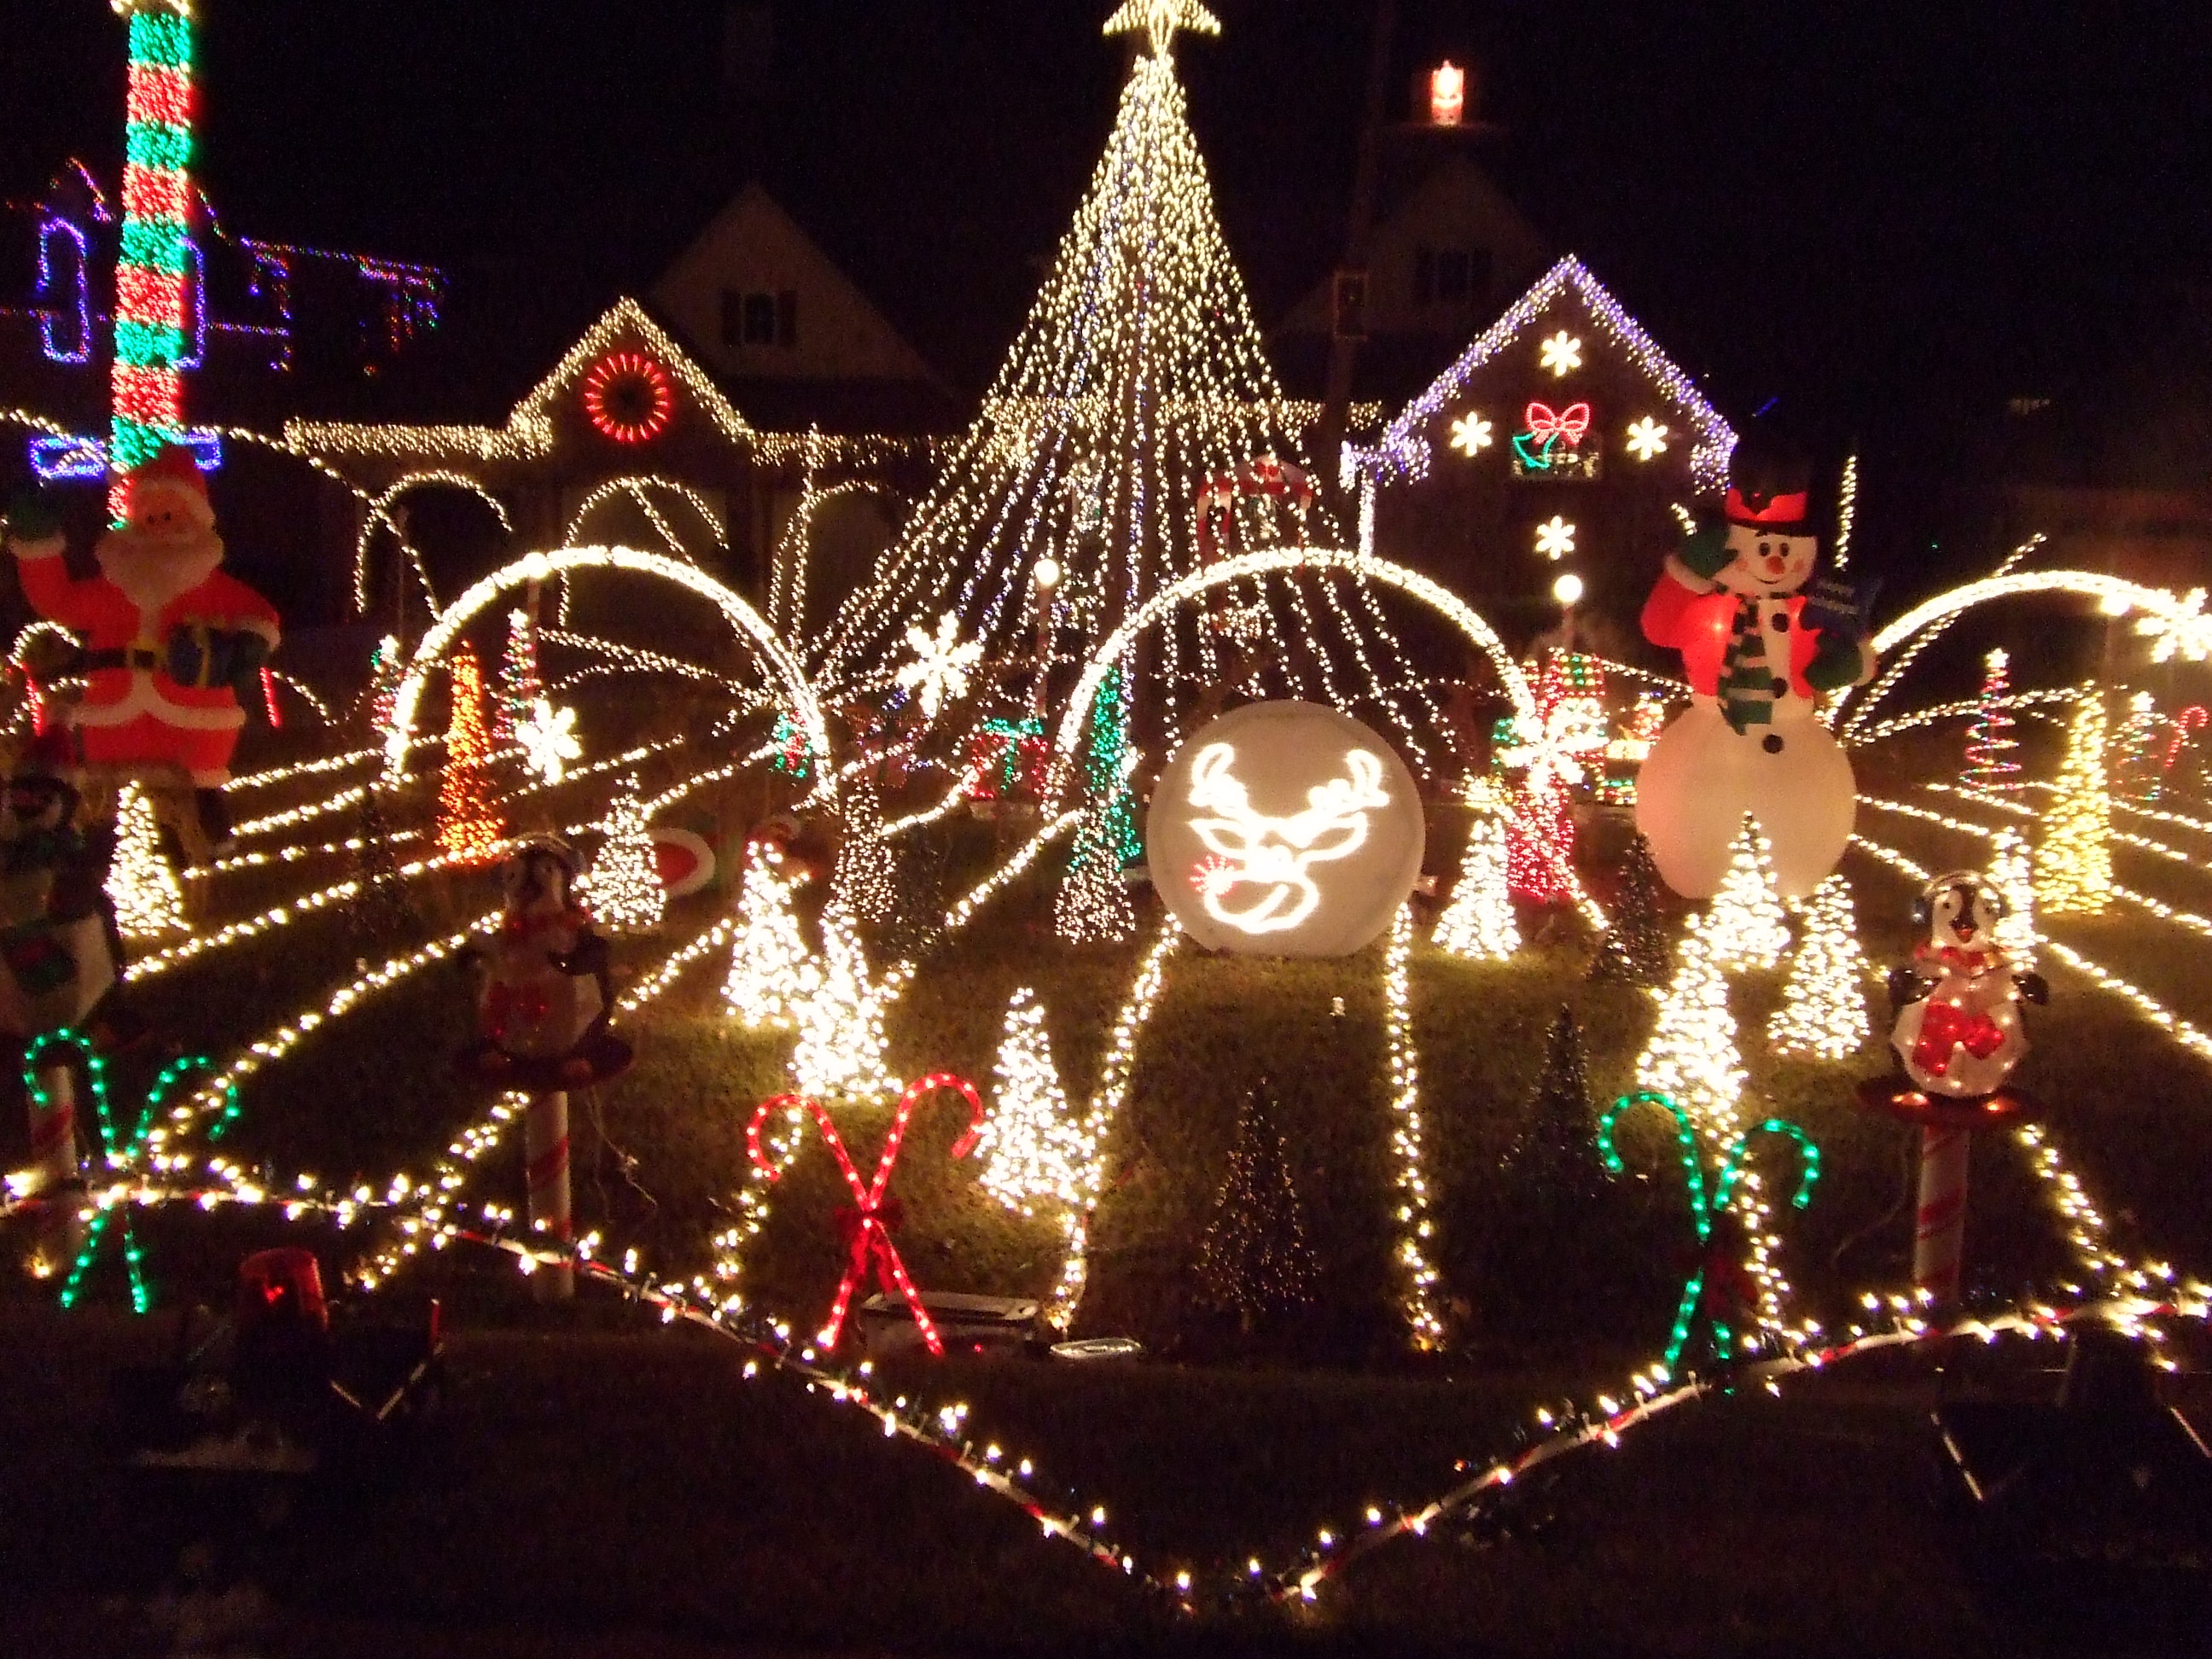
The grid was an easy project and made a big impact on the display. It was gorgeous!!! The grid, for you beginners, is just stripes on the ground running through your display using strings of Christmas lights. I used a 16 channel grid which I controlled with one Light-O-Rama controller. The most important part of the grid is doing your homework before you start putting your display in your yard. You need to figure out how wide your yard is, find the center of your yard, and then do the math. My yard was about 56' wide so I did a 50' grid (to keep it inside my border). 50 divided by 15 (number of spaces between 16 lines of grid) is 3'- 4". Since the center of my yard falls in the center of the middle grid I divided 3'- 4" by 2 which is 1'- 8". So, with this info, I staked out my front yard. Since I have a long front yard I put a row of stakes at the front of my yard, the middle and the back of my yard to make sure my grid lines stayed straight. I started with the center of my yard and strung a string from the center in the front of the yard to the center in the back of the yard. Then I figured out where the middle of my yard was and put a stake there. The rest was easy. From the center stake (front, middle and back) I measured 1'- 8" out on each side and those two stakes marked the grid lines on each side of center. From there on over (on each side) I used the 3'- 4" measurement to mark the other grid lines until all 16 were staked down (front, middle and back). That's it! You're pretty much done until you finish putting the rest of your display in your yard. The reason for that (I know, it's pretty obvious) is you don't want to be stepping on your grid lights the whole time you're installing your display. Yes, you are going to trip over those dang stakes here and there but that's better than stepping on lights. When you finish the rest of your display (keep your grid lines in mind and move stuff off the grid lines if possible) all you have to do is stretch lights from the front stake to the back stake. Oh, I forgot to mention that since my yard is long I knew I would be using a length of two strings of lights. AND, since I really wanted the grid to show up I doubled the strings. Since you only want to put a total of three strings of 100 count lights in series I started with two female ends of lights near the front of the yard, strung the two strings to the middle where I plugged in another string to each of those. I plugged both sides of lights into an extension cord that went to the controller. This way only two strings of lights were in series. I know this doesn't sound very clear but it's the best I can do. Basically I ran four strings of lights (two in parallel) for each of my grid lines. I might mention that the only trouble I had was when it drizzled (or rained, of course). The strings of lights laying right on the ground (grid and yellow snow) really played havoc of the GFCI circuits. I could not keep the circuits "on" if the ground was wet. Luckily, I only had three nights that were wet. The rest of the time the grid kicked BOOTY!!!!
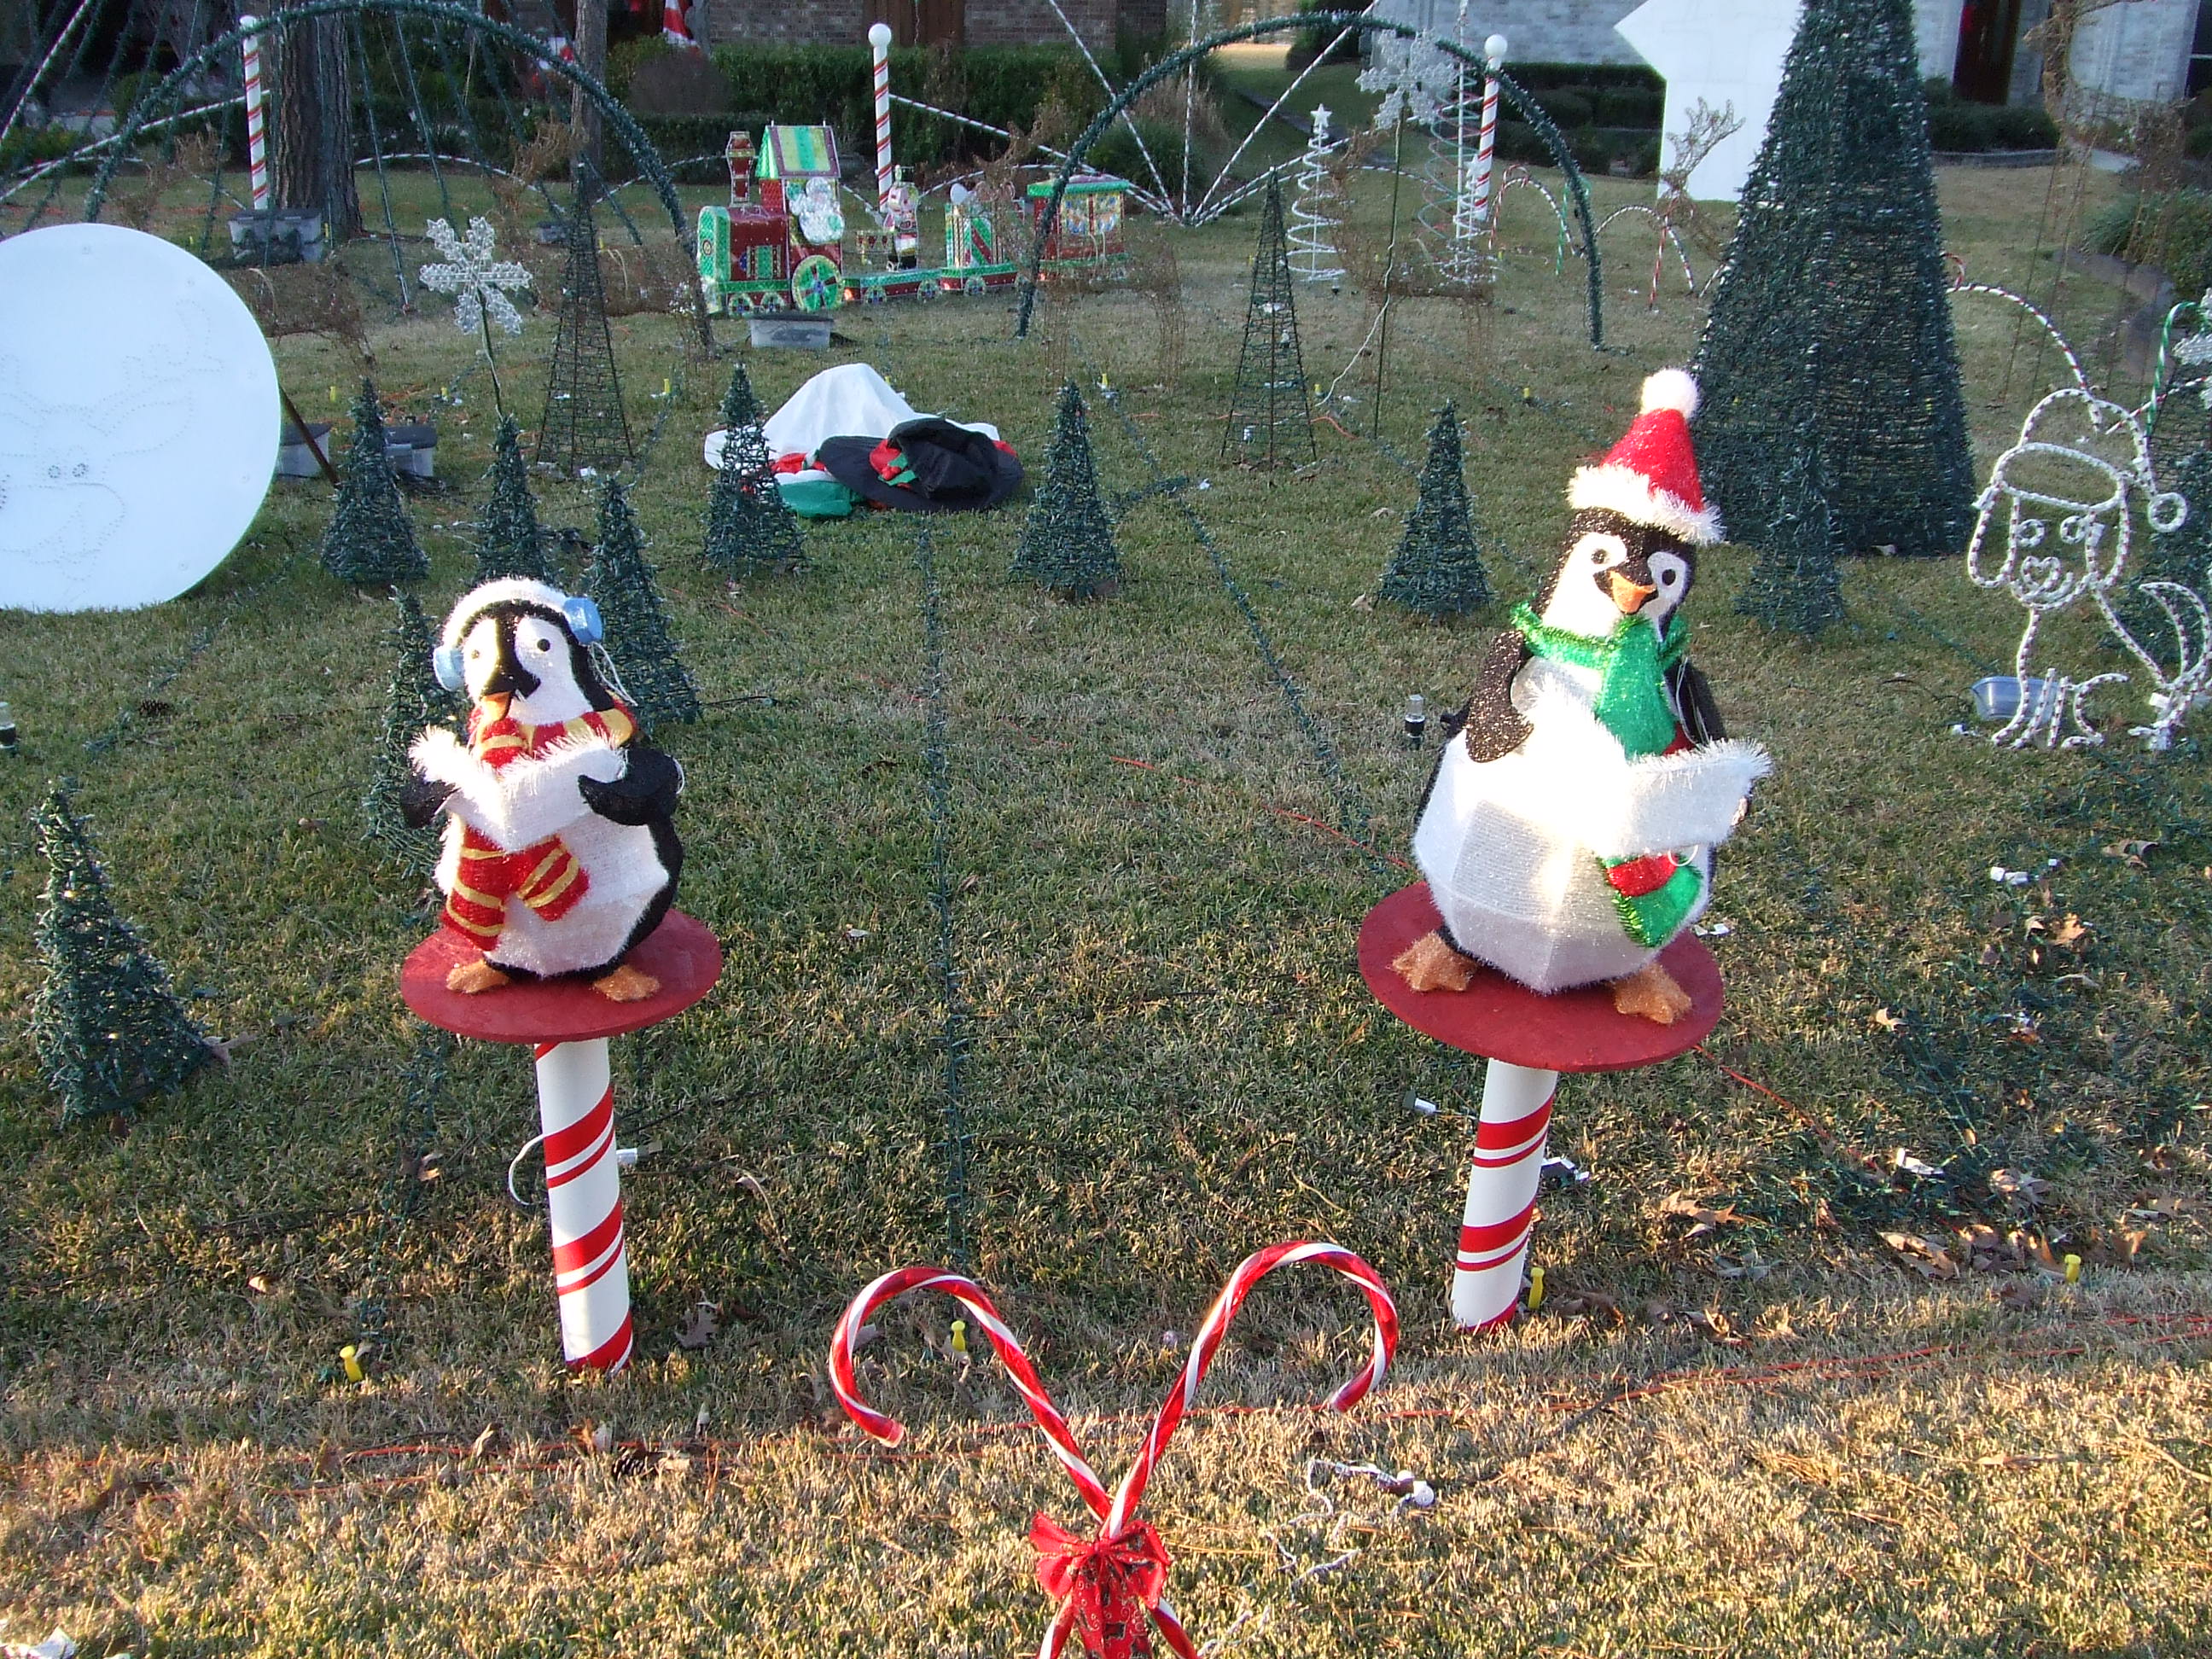
Here's some pics that show the yellow stakes I used for
the grid. Hope you can see them!!!
This pic shows the front stakes. They are hard to see. Look near the base of my cute penguins!!!
This pic show the middle stakes. They are right behind the blow-ups (from left of pic to the tree)
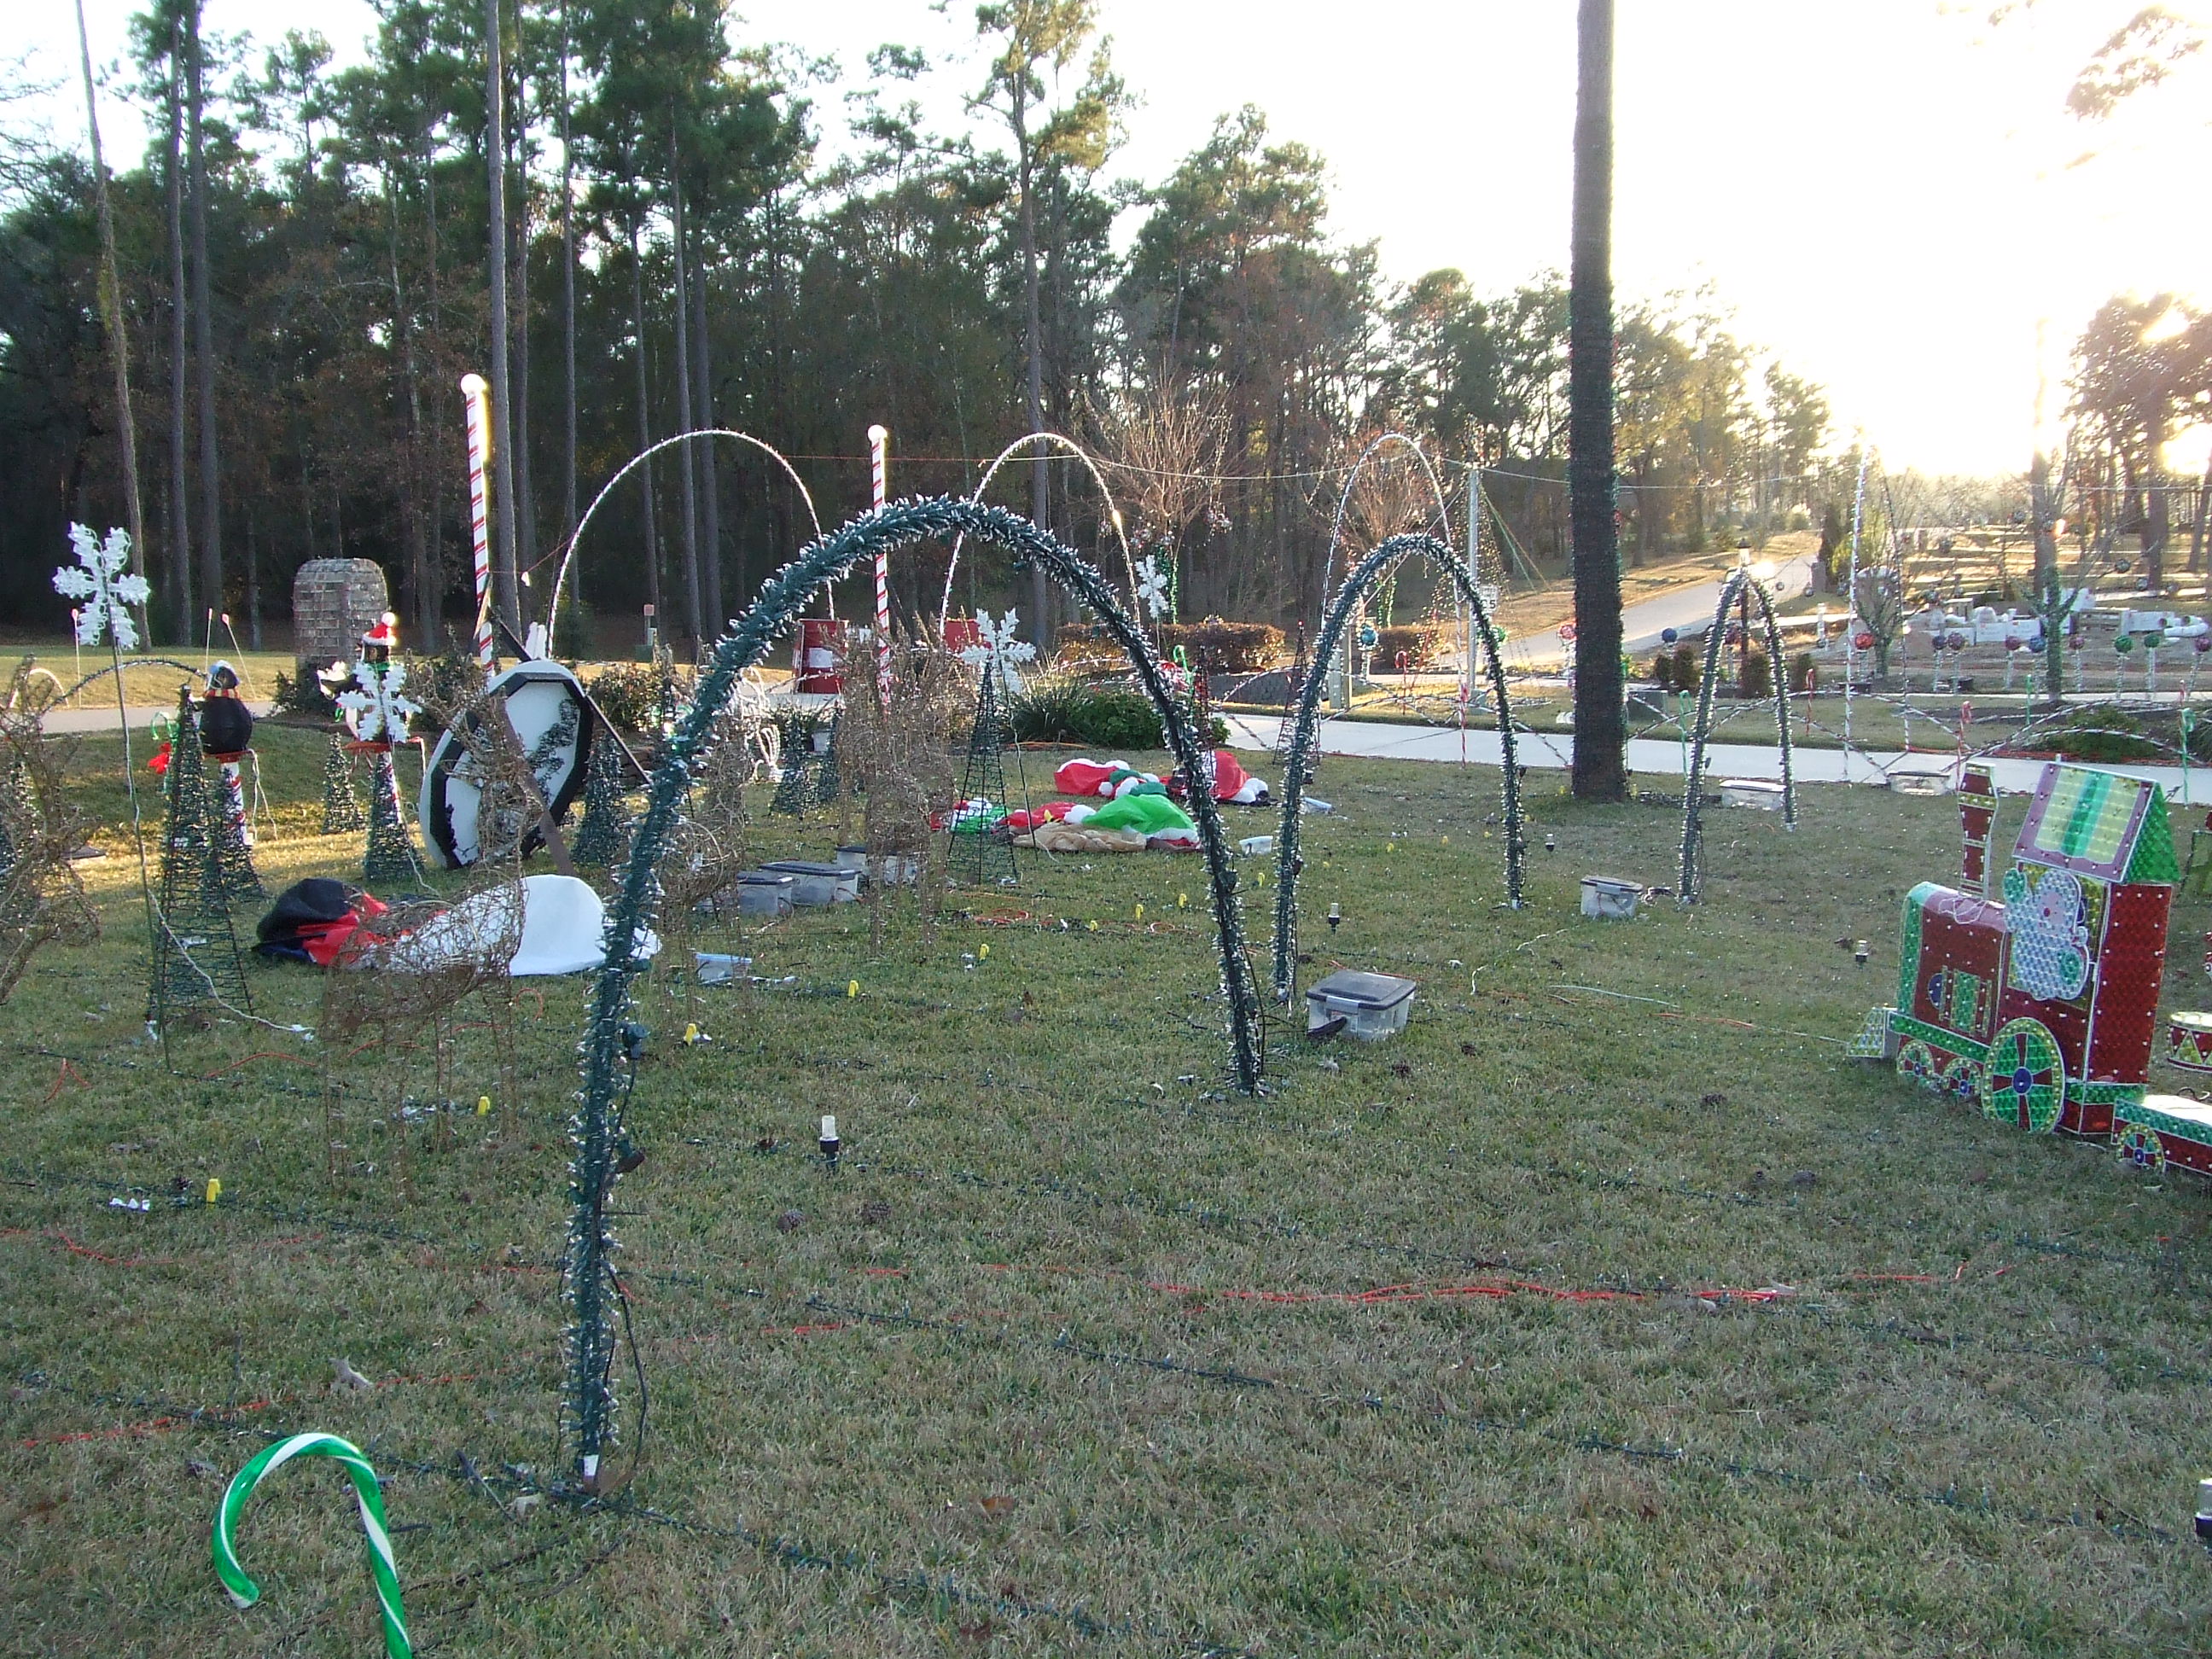
These are my back stakes (right in front of the tree). That control box (on this side of the tree) controlled my grid. It is in the dead center of my yard.
